
Printer / Kiosk / POS
Installation and Configuration of Printers
With Skanom Printer, you can run thermal printers with high flexibility.
Download the Printer application here:
- Windows 10 or newer: https://app-downloads.skanom.com/skanom-printer-setup.exe
- Windows 7: https://app-downloads.skanom.com/skanom-printer-setup-win7.exe
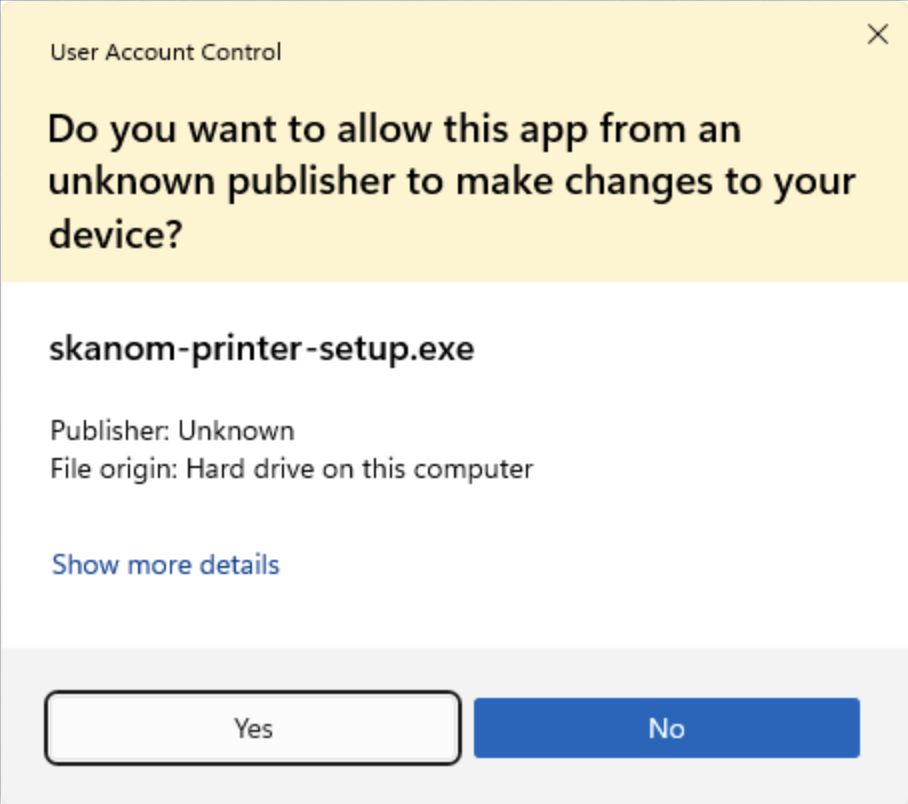
Install the application
- Accept the application by clicking Yes
Open the Skanom Print application from your Desktop
Log in to your menu
Verify that the status is "Connected"
Add and Configure Printer
Visit https://portal.skanom.com/settings/printers for printer configuration.
If you have installed the application and logged in, you will see your computer in the list.
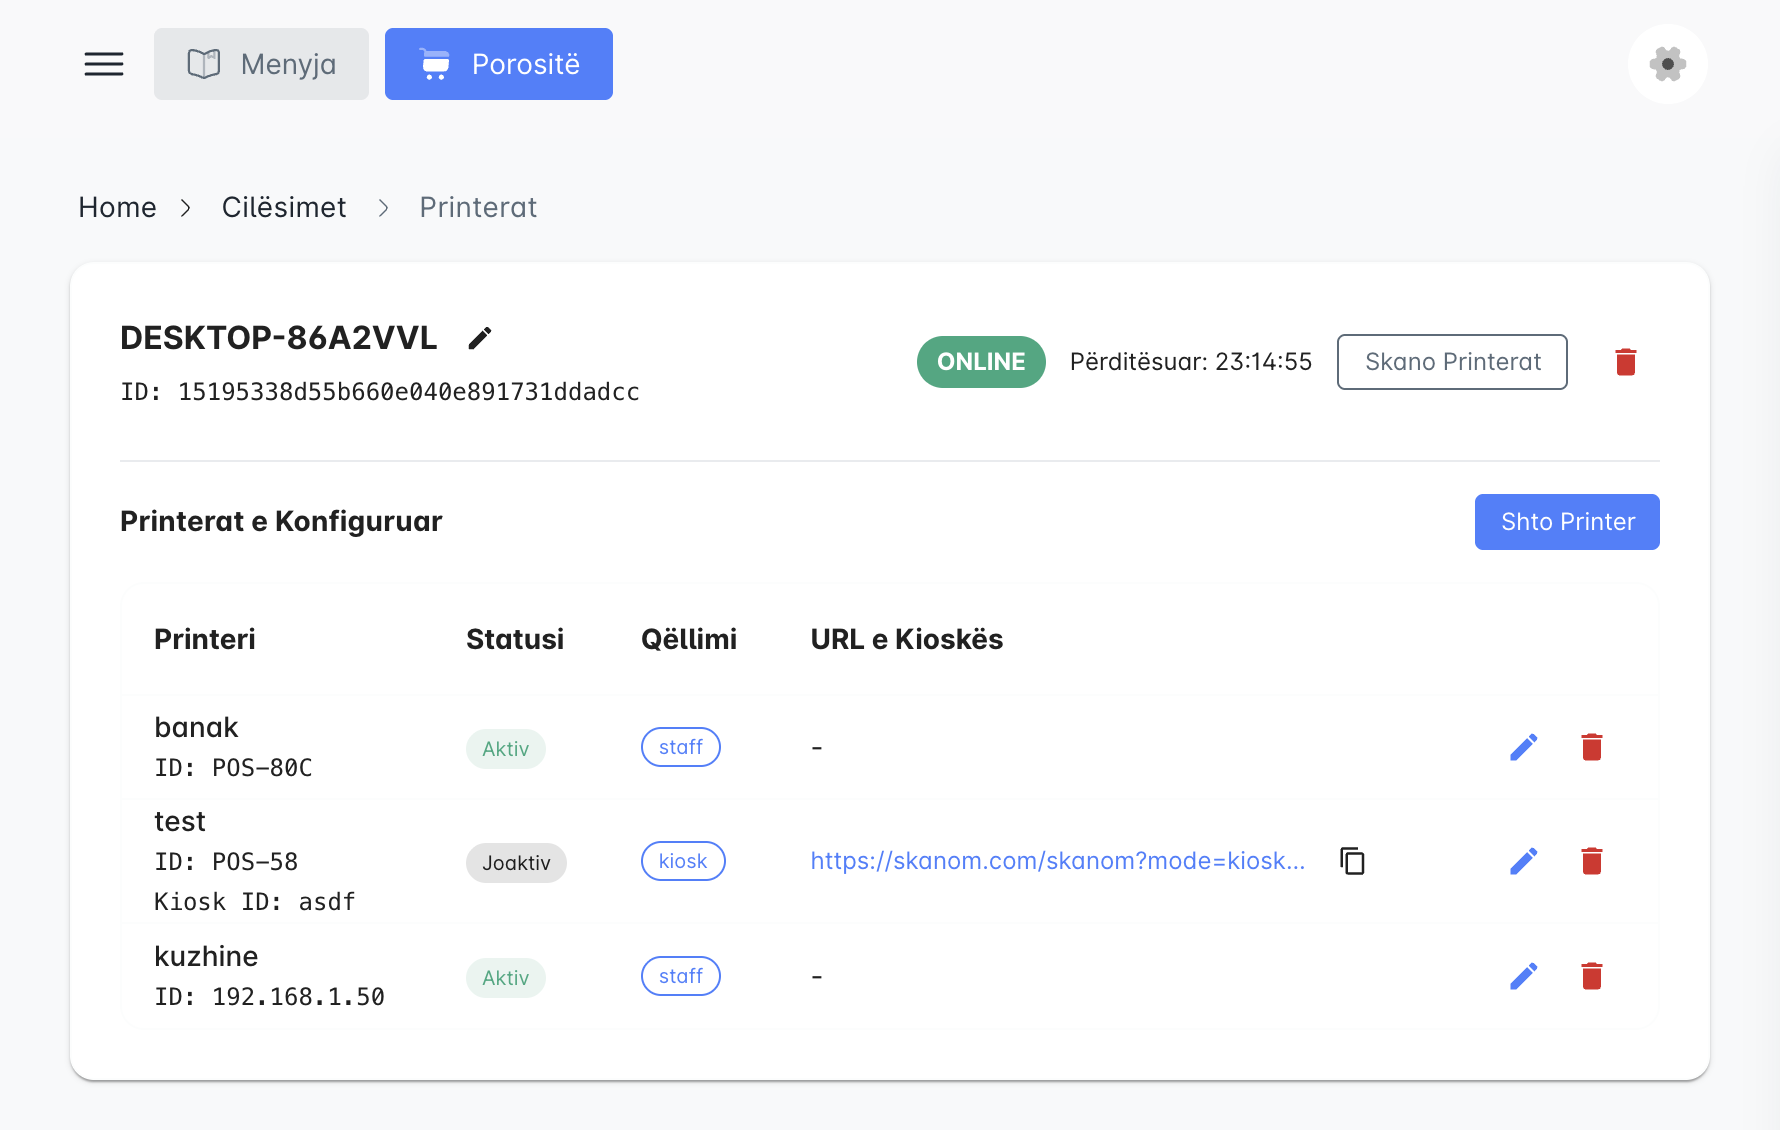
- Click "Scan Printers"
- Click "Add Printer"
- Select from the list the printer you want to put to use
- Enter an identifier name for the printer
- Select the purpose of the printer
- Receipt: prints all order information (non-fiscal)
- Kitchen/Staff: prints minimal information and only the product list (without prices and other details). Suitable for sending the order directly to the Kitchen, Bar, etc.
- Kiosk: prints all order information immediately after the order is made. Suitable for Kiosks with touch screen/iPad/Tablet and with a printer connected directly to the kiosk.
Filtering by Categories and Order Type
You can configure printers to print only certain product categories or only certain order types:
1. Filtering by Categories (only for Staff/Kitchen Printer)
If you have more than one printer on site, e.g., in the kitchen and bar, you can split the orders:
- Select the printer purpose as
Kitchen/Staff - In the
Print only these categorieslist, select only those categories that this printer will print. - If no category is selected, the printer will print all products.
- If an order does not contain any product from the selected categories, the printer will not print at all (no empty paper is printed).
2. Filtering by Order Type (for all printers)
You can choose to have a printer print only certain types of orders:
- Eat In (In restaurant)
- Takeaway (To go)
- Delivery (Home delivery)
- If no order type is selected, the printer will print all types.
Printer Configuration for Kiosk
- Select
Kiosk Printer - Enter an ID in
Kiosk ID. This ID is important and must be unique for each kiosk if you have multiple kiosks - Save
- In the list, you will have the address that you must set in the kiosk
Kiosk Configuration
For Microsoft Windows only!
- Search for
Other Usersin the Start menu - In
Set up a kiosk, clickGet started - Enter a name for the user, e.g., the business name
- Select
Microsoft Edge - Select
As a digital sign or interactive display - Enter the address
Kiosk URL - Select
10 hoursinRestart Microsoft Edge - Close and restart Windows